> 腾讯云服务器
> OS:ubuntu20.04 LTS
云服务器
1.购买云服务器及域名 >>> 腾讯云服务器学生优惠
2.进入控制台重置应用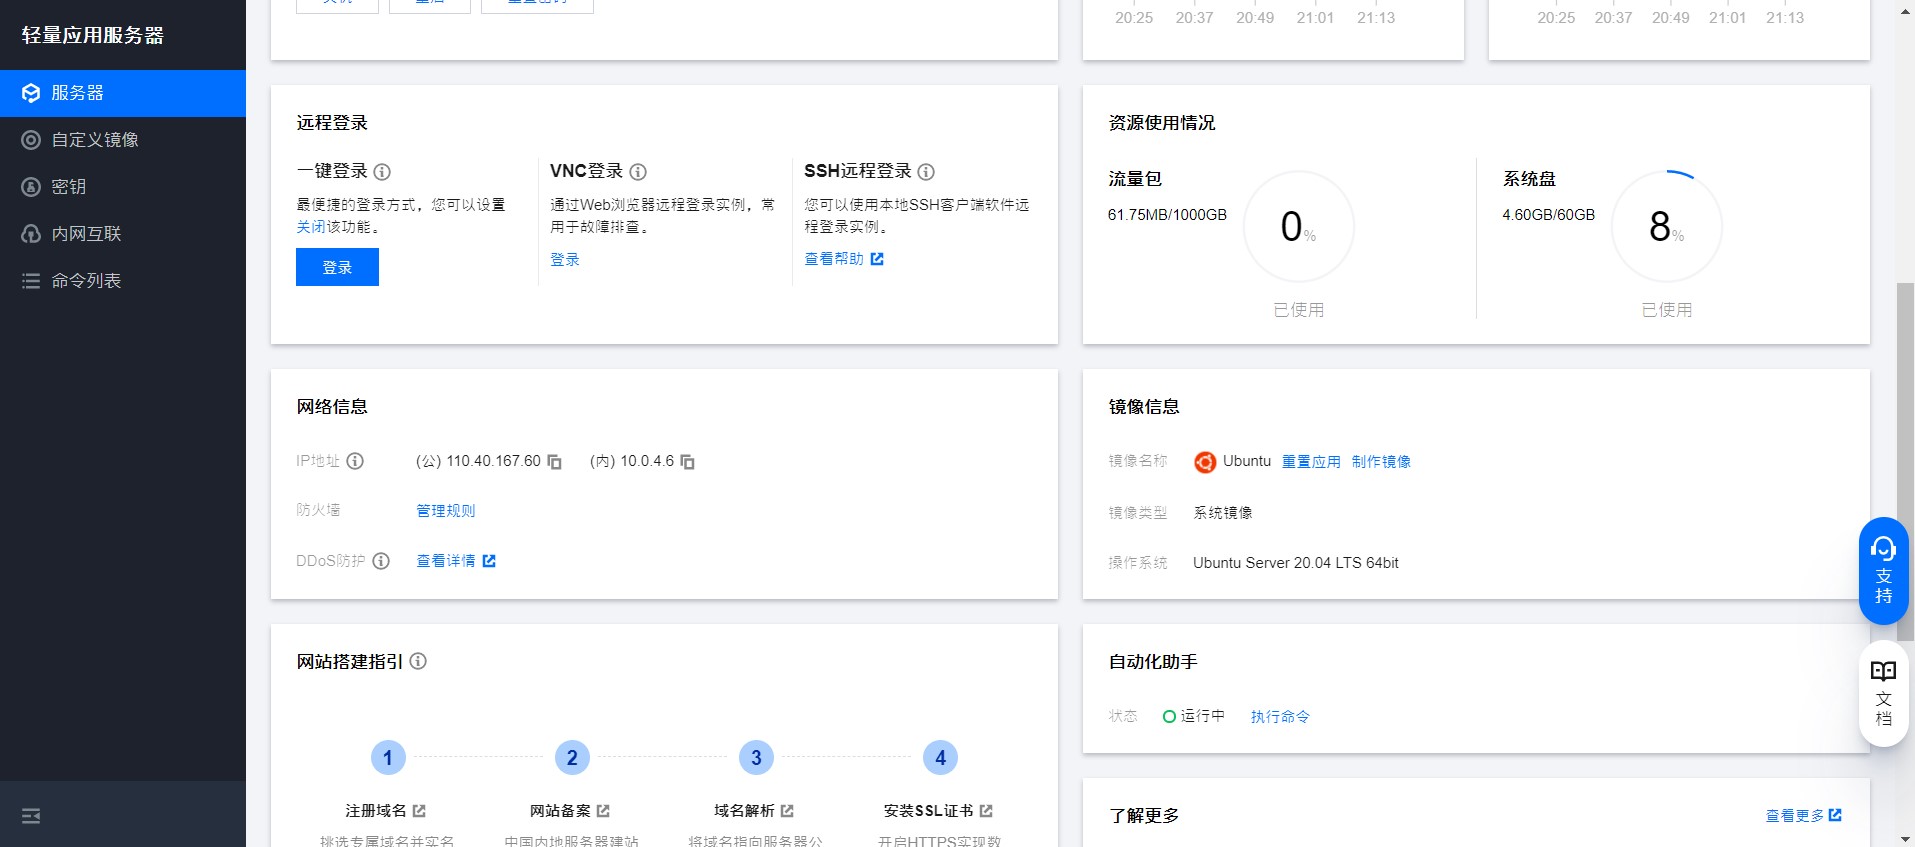
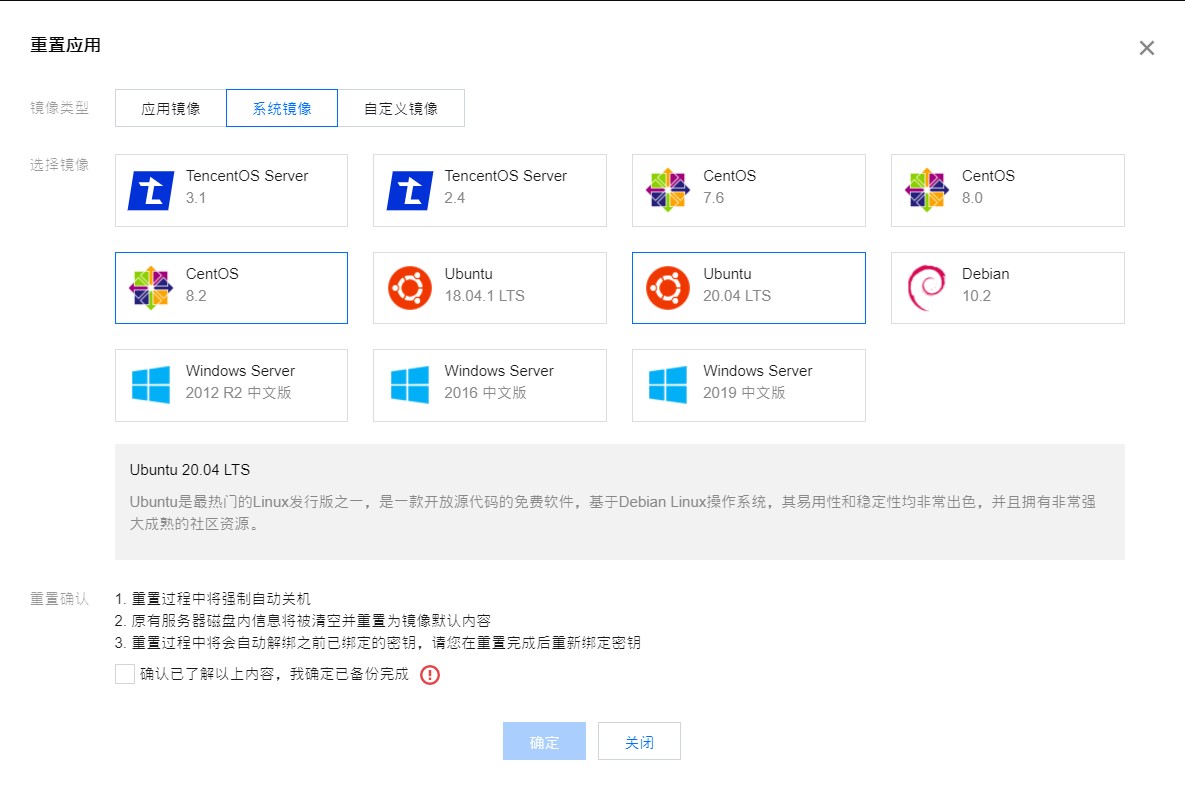
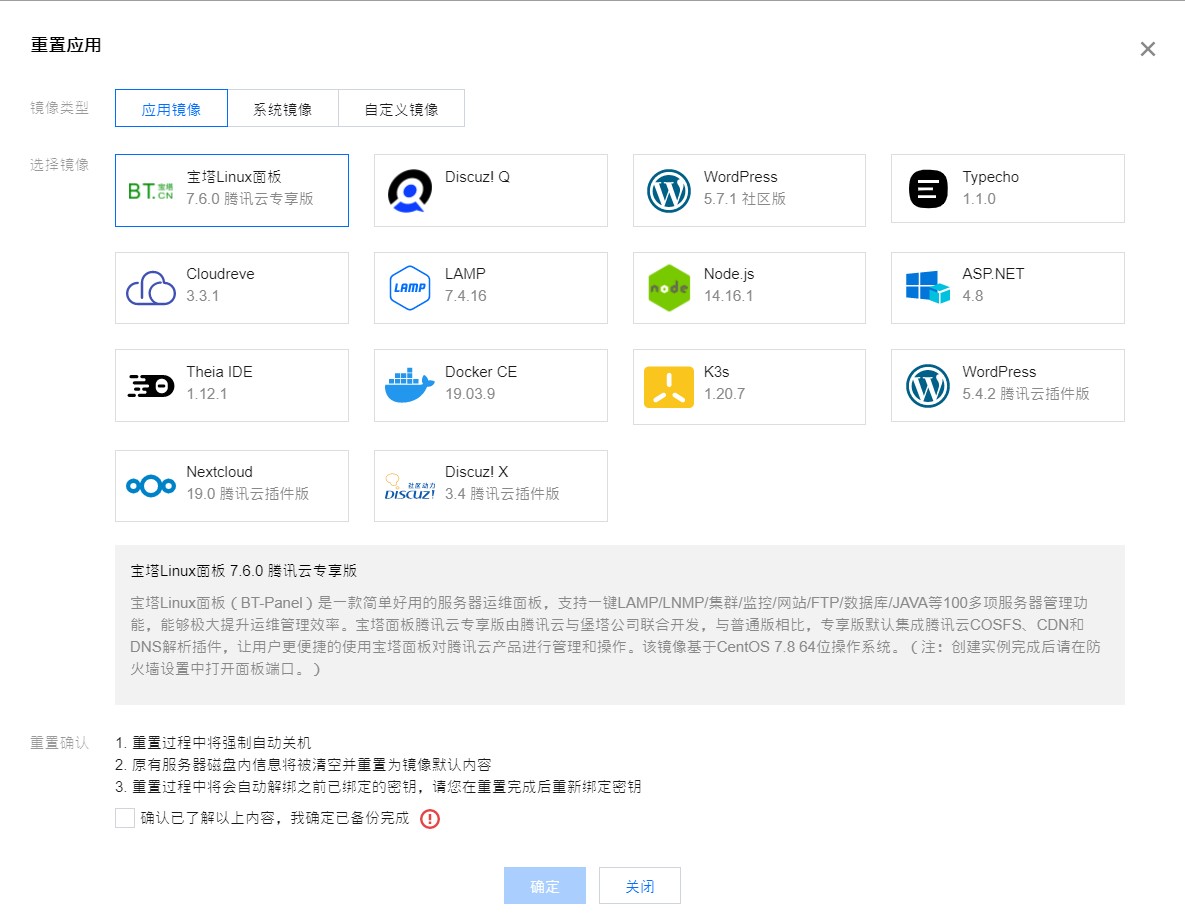
可直接选择Typecho, 也可选择LAMP(Lniux,Apache,Mysql,PHP)等套件方便许多。博主选择ubuntu20.04 LTS :)
Nginx
Nginx是俄罗斯人Igor Sysoev编写的轻量级Web服务器,它的发音为 [ˈendʒɪnks] ,它不仅是一个高性能的HTTP和反向代理服务器,同时也是一个IMAP/POP3/SMTP 代理服务器。
Nginx安装可参考Nginx中文网站提供的教程
也可直接使用ubuntu的apt安装,安装后配置文件存在于/etc/nginx
sudo apt-get install nginx安装nginx时,进入该网址https://www.nginx.cn/doc/的nginx在centos上安装,科学上网后进入,该教程中php,mysql均为编译安装,较为繁琐,配置过程中某PHP插件无法安装,PHP与插件版本均较为落后,冷静思考过后,发现该教程是09年的上古神帖,于是将服务器重置为ubuntu且在之后的安装中基本完全采用apt安装。apt安装前可先使用apt-get update更新。
安装后可在访问云服务器的IP地址,会显示nginx的欢迎页面,如是apache,可删除/var/www/index.html再次尝试。
service nginx start # 启动nginx
service nginx stop # 停止nginx
service nginx restart # 重启nginx
service nginx status # 查看状态
Mysql
Mysql安装直接通过apt安装。
sudo apt-get install mysql-server初始化Mysql
sudo mysql_secure_installation初始化的各选项不再赘述,百度或谷歌即可。
初始化完成后使用root登录创建数据库及用户。
sudo mysql -u root -p # 以root进入数据库
CREATE DATABASE blog; # 创建数据库blog
SHOW DATABASES; # 查看创建的数据库
CREATE USER 'blog'@'%' IDENTIFIED BY 'password'; # 创建新用户,%代表所有IP均可登录
SELECT user, host from mysql.user; # 查看用户
GRANT ALL PRIVILEGES ON blog.* TO 'blog'@'%'; # 将blog数据库的所有权限授予用户blog
可使用Navicat等软件远程登录数据库,默认端口3306,root权限默认只允许本地登录,无法登录请检查3306端口是否正常,用户是否可以正常登录。另:云服务器供应商一般会设置防火墙,前往控制台开放数据库端口。
PHP
使用apt安装
sudo apt intall php
php -v # 查看PHP版本
PHP-FPM
从nginx到php需通过php-fpm,所以需要修改php及nginx的配置文件。
可通过监听本地tcp端口,也可使用unix套接字连接,避免端口开销。
修改PHP配置
vi /etc/php/7.2/fpm/pool.d/www.conf # 其他方式安装或版本不同,PHP该文件地址不同
listen = 127.0.0.1:9000 # 增添内容,监听本地tcp端口方式
listen = /var/run/php/php7.2-fpm.sock # 增添内容,unix套接字方式,与tcp端口模式二选一,只增添一种即可

修改Nginx配置
可新建配置文件并在nginx.conf中引用,默认引用sites-enabled文件夹下的所有配置文件,本次使用默认的dafault文件。
注:在sites-available文件夹中设置配置文件,在sites-enabled文件夹中创建软连接并在nginx.conf中引用较为规范。
vi /etc/nginx/sites-enabled/default # 需同样注意路径问题
# 内容
server {
        listen 80 default_server;
        listen [::]:80 default_server;

        # SSL configuration
        #
        # listen 443 ssl default_server;
        # listen [::]:443 ssl default_server;
        #
        # Note: You should disable gzip for SSL traffic.
        # See: https://bugs.debian.org/773332
        #
        # Read up on ssl_ciphers to ensure a secure configuration.
        # See: https://bugs.debian.org/765782
        #
        # Self signed certs generated by the ssl-cert package
        # Don't use them in a production server!
        #
        # include snippets/snakeoil.conf;

        root /var/www/blog;  # Typecho文件目录

        # Add index.php to the list if you are using PHP
        # index index.html index.htm index.nginx-debian.html;
        # index install.php

        # server_name yuming.com; # 域名
        server_name _; # 没有域名暂时使用_

        location / { # 访问域名根目录时
                # First attempt to serve request as file, then
                # as directory, then fall back to displaying a 404.
                index index.php # 代表访问时执行index.php
                try_files $uri $uri/ =404;
        }

        # pass PHP scripts to FastCGI server

        location ~ .*\.php(\/.*)*$ { # 访问.php文件时
                # include snippets/fastcgi-php.conf;
                include /etc/nginx/fastcgi.conf; # 同样注意该文件的路径问题

                # With php-fpm (or other unix sockets): # unix套接字方式
                # fastcgi_pass unix:/var/run/php/php7.2-fpm.sock; # 此行取消注释即使用unix套接字方式
                # With php-cgi (or other tcp sockets): # 监听tcp端口方式
                fastcgi_pass 127.0.0.1:9000; # 设置本地的9000端口,不同方式即取消注释不同的行,二选一
        }

        # deny access to .htaccess files, if Apache's document root
        # concurs with nginx's one

        # location ~ /\.ht {
        #       deny all;
        #}
}该部分配置可参考Nginx与PHP
PHP-PDO
PHP到操作Mysql可通过PHP扩展PDO,需安装,其他扩展也可以。
sudo apt install php-pdoTypecho
访问Typecho官网下载,解压后可放入/var/www/html文件夹内,也可放入其他文件夹内,将nginx配置文件中更改成对应文件夹即可,注意更改文件夹权限。
访问Typecho文件夹中对应的install.php即可进入安装程序。
部分问题
1.访问install.php没有进入安装程序,而是下载该文件。
注意nginx中的配置是否完善,nginx->php-fpm->php->php-pdo->mysql。
2.进入安装程序后,数据库适配器无选项。
检查php的MySQL拓展,安装成功后即可。
嘻嘻嘻嘻嘻嘻嘻
hahaha
alert("hello");hahaha
你好,请问有需要我帮忙的吗